
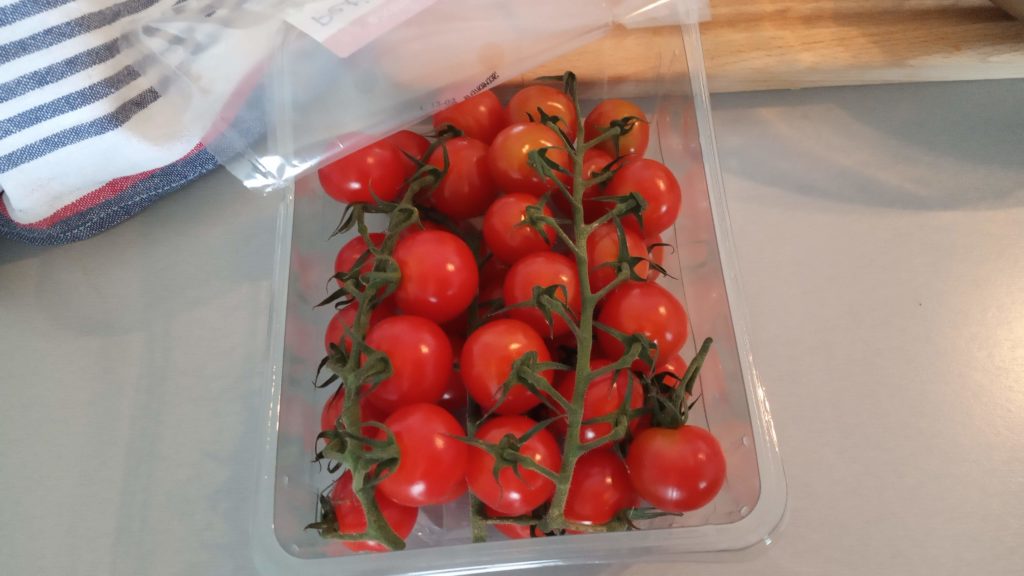
So I bought delicious cherry tomatoes. I would like to have a steady supply of them, because they taste REALLY great. That’s how they look:
To achieve this, of course I could keep buying them at a supermarket, but that collides with my investing escapades, I need to save money to invest more. So the obvious solution: grow them myself. My grandpa uses an interesting approach. He’d say “I’m not dumb enough to pay some 5 euros for half a kilo of some weird honey drop tomatoes or whatever fancy name they have nowadays. I’ll just buy one, try half of it, to see if it is tasty. And if it is, I’ll keep the seeds from the other half to sow. I’ll have unlimited free tomatoes then!” That cheap advice has stuck with me, but I’ve never acted on it. Until this year. It’s spring time, around the best time to start sowing your seeds.
Getting started
So I cut one open and got out the seeds. Put them on a wet kitchen towel, and put that whole thing in a tupperware container to prevent dehydration.
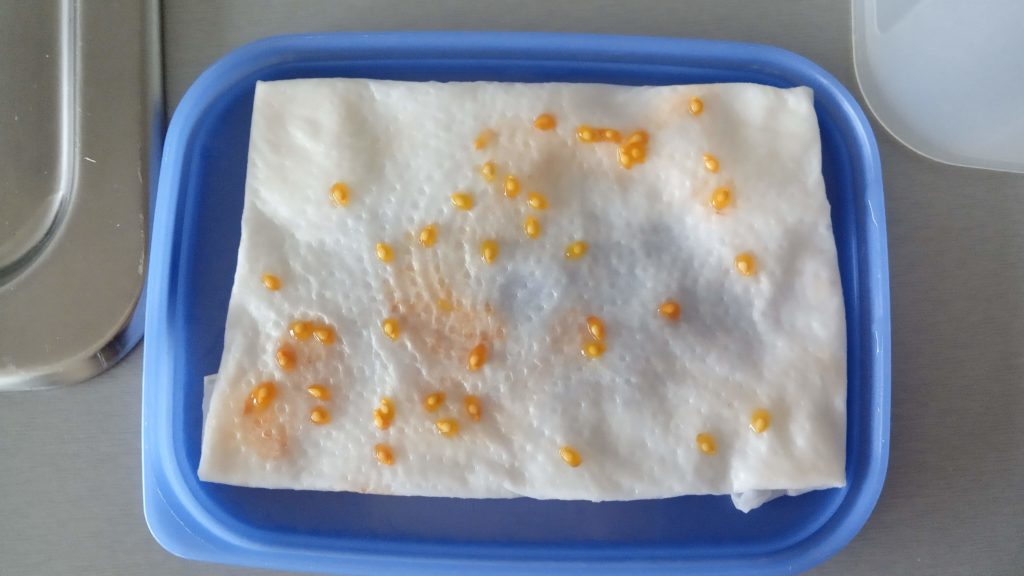
On this pic you can see the lid, just imagine the clear bottom part of the container being stuck on top to make a tiny window sill green house.
After only a few days, I saw the first roots starting to sprout. It was time to move some of the seeds! I scavenged some soil from an old flower-basket-piece thingy (the plants from that basket had already been transferred to own pots to grow much bigger). That soil went into egg cups, after that I put the seeds with the biggest root sprouts in there. Just slightly below the surface. The egg cups went back into the tiny green house and I let it sit on the window sill again.


After just ONE NIGHT on the window sill, the plants had literally exploded from the seed!! They grown by a couple of centimeters, probably more than an inch and a half. They started to look like real plants!!

Moving to the next home
After another night, they had outgrown they’re first tiny green house. I had to relocate one of them, because it was too high in the soil and kept falling over. So I carefully got it out by wiggling the soil around it loose with a satay stick and put it back in a bit deeper. After that, I used a big clear plastic freezer bag and put it around the situation. The bag was stable enough to keep standing on it’s own, no support needed on the inside. Otherwise I’d probably have whipped something together with more satay sticks and some rubber bands or string.


The picture on the left shows the situation right after coming out of the tupper house, the right picture has been taken a day after that. We see the first “real” leafs appearing right in the fork between the first two proto-leaves.
I’m very excited about this, seems like I might just be able to pull this off! Will keep updating the blog when more progress is made!